Common Post-Renovation Cleaning Problems and Solutions
After completing your renovation project in Singapore, you'll likely face a significant cleaning challenge that goes far beyond your regular home maintenance routine. Post-renovation cleaning involves removing construction dust, debris, paint residue, and other contaminants that standard cleaning methods cannot address. Understanding the most common problems you'll encounter—and knowing exactly how to solve them—will help you restore your home to a safe, livable condition quickly and efficiently.
This guide walks you through the primary post-renovation cleaning challenges Singapore homeowners face, practical solutions you can implement, and when professional help becomes necessary. Whether you're dealing with a small bathroom update or a complete home renovation, Homejourney's trusted network of verified cleaning providers can help you navigate this process with confidence.
Problem 1: Pervasive Construction Dust and Fine Particles
The Challenge: Construction dust is far more persistent than regular household dust. During renovation work, contractors typically remove only about 30% of dust and debris, leaving 70% to settle throughout your home. This fine dust penetrates into areas you wouldn't expect—inside cabinets, on top of ceiling fans, within air conditioning vents, and deep into upholstery. The particles are often too small to see clearly but accumulate quickly, with furniture and soft furnishings experiencing up to a 30% increase in dust accumulation post-renovation.
Why It Matters: Construction dust contains harmful particles that affect indoor air quality and can trigger respiratory issues, especially for children, elderly family members, or those with asthma. Fine particles can also scratch surfaces and damage electronics if not removed properly.
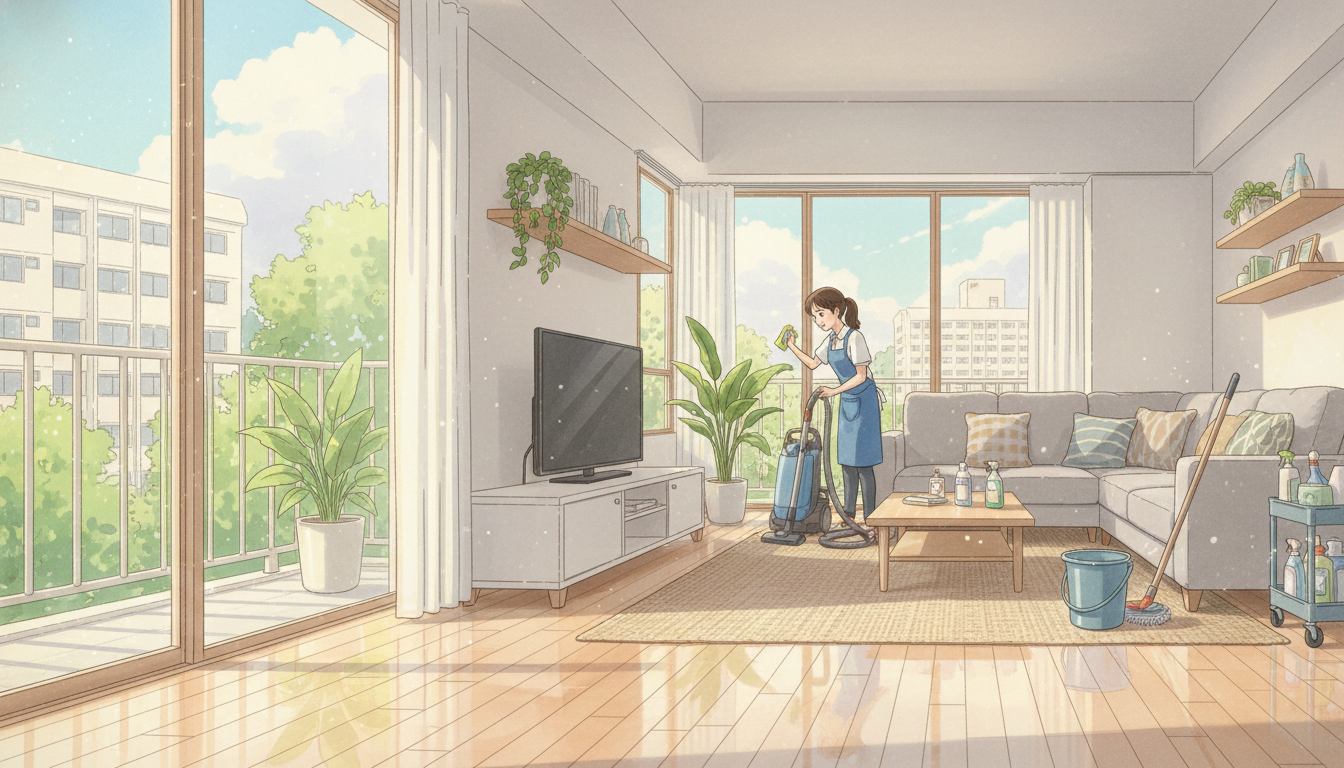
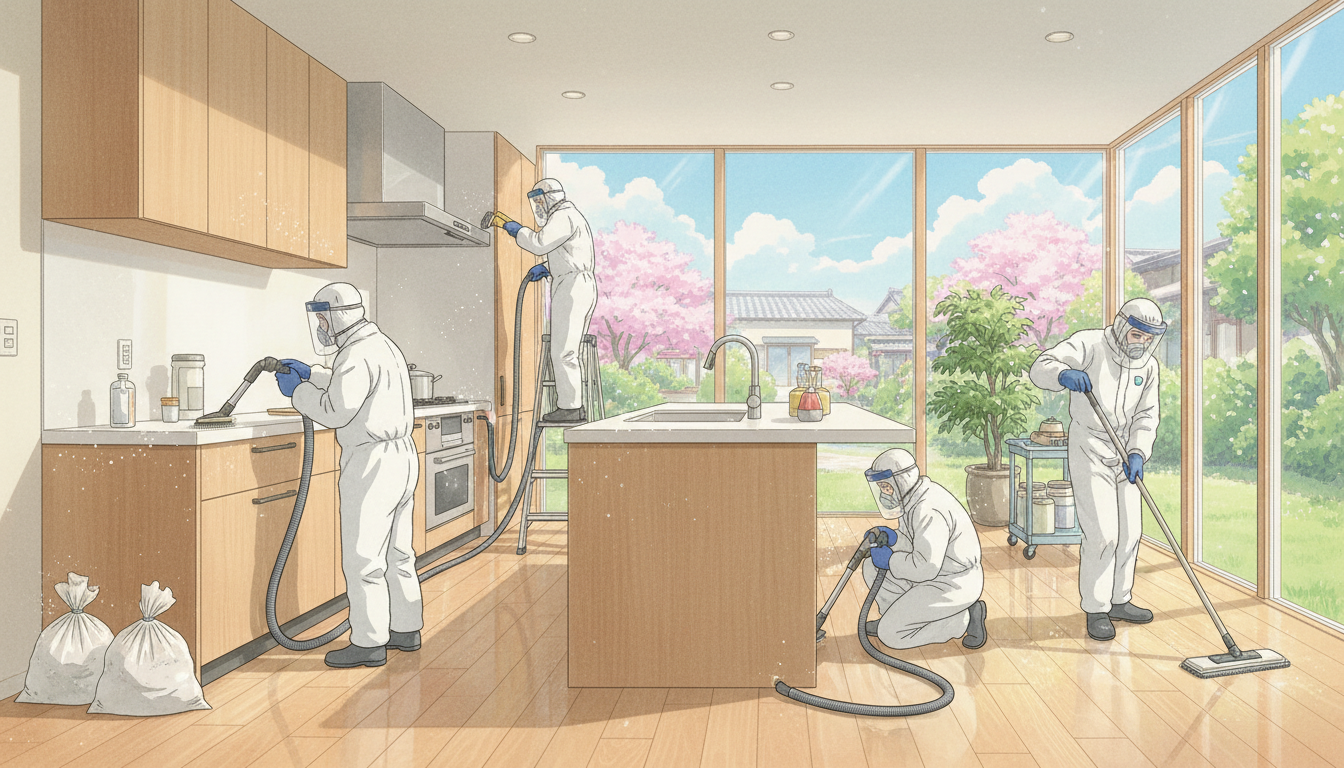
Solution - Dry Cleaning Phase: Begin your post-renovation cleaning with dry cleaning techniques before introducing any moisture. Start by sweeping all surfaces to collect loose, larger debris. Use a vacuum equipped with a HEPA filter—this is essential, as standard vacuums recirculate fine particles back into the air. HEPA filters capture 99.97% of particles 0.3 microns and larger, significantly improving air quality.
Work systematically from top to bottom: dust ceiling fans, light fixtures, and high shelves first using microfiber cloths on extendable poles. Dust naturally falls downward, so cleaning from top to bottom prevents re-contaminating already-cleaned areas. Pay special attention to corners, crevices, and areas behind furniture where dust settles. Use your vacuum's brush attachment for baseboards, window sills, and tight spaces. Change vacuum bags frequently during this phase—a clogged bag reduces suction effectiveness.
Pro Tip: Open windows and doors during dry cleaning to improve air circulation and allow dust particles to escape your home rather than settling elsewhere. This simple ventilation strategy reduces the overall dust burden significantly.
Problem 2: Stubborn Paint Splatters and Residue
The Challenge: Paint splatters are among the most frustrating post-renovation issues. Even with protective coverings, paint inevitably ends up on walls, floors, fixtures, and sometimes furniture. These splatters can be particularly stubborn on tiles, wooden floors, and glass surfaces, requiring specialized removal techniques that differ based on paint type (latex vs. oil-based) and surface material.
Solution - Immediate Action: Address paint splatters as soon as possible—dried paint is significantly harder to remove than wet paint. For fresh splatters, use a damp cloth to gently wipe away latex paint before it dries. For dried paint on hard surfaces like tiles or glass, try these approaches:
- Acetone or Paint Thinner: Test on an inconspicuous area first. Apply to a cloth and gently rub the splatter. This works well on glass and some tile surfaces but can damage certain finishes.
- Vinegar Solution: Mix equal parts white vinegar and water. This gentler, eco-friendly option works on light splatters and won't damage most surfaces. Let it sit for 15-20 minutes before wiping.
- Baking Soda Paste: Combine baking soda with water to create a paste. This mild abrasive is effective on tiles and grout without scratching surfaces.
- Plastic Scraper: For stubborn dried paint on hard surfaces, use a plastic scraper (not metal, which can scratch). Scrape gently at a 45-degree angle.
Important: Always test any cleaning solution on a hidden area first to ensure it won't damage your surfaces. Different materials—whether HDB tiles, condo marble, or wooden floors—react differently to chemical solutions.
Problem 3: Cement, Grout, and Tile Residue
The Challenge: If your renovation involved tile work, flooring installation, or any cement-based work, you'll face hardened cement dust and grout residue. This material is significantly more difficult to remove than regular dust because it bonds to surfaces and hardens over time. Grout haze—a thin film of cement dust left after grouting—can dull the appearance of new tiles and is particularly visible on darker tiles.
Solution - Chemical Cleaning: Heavy-duty cleaning of tiled areas requires appropriate chemical solutions. Here's the proper approach:
- Dry Phase First: Sweep and vacuum all loose cement dust before wet cleaning. This prevents the dust from turning into a paste when water is introduced.
- Grout Haze Removal: Use a commercial grout haze remover (available at hardware stores) or a solution of one part white vinegar to three parts water. Apply with a soft cloth and wipe in circular motions. For stubborn haze, let the solution sit for 10-15 minutes before wiping.
- Cement Residue: For hardened cement on tiles, use a pH-neutral tile cleaner specifically formulated for post-construction cleanup. Acidic cleaners (like vinegar) can damage grout over time, so use pH-neutral options for regular maintenance.
- Grout Lines: Use a soft brush to gently scrub grout lines. For stubborn residue, a grout brush or old toothbrush works well without damaging the grout.
Safety Note: Always wear gloves and ensure good ventilation when using chemical cleaners. Never mix different cleaning products, as this can create dangerous fumes.
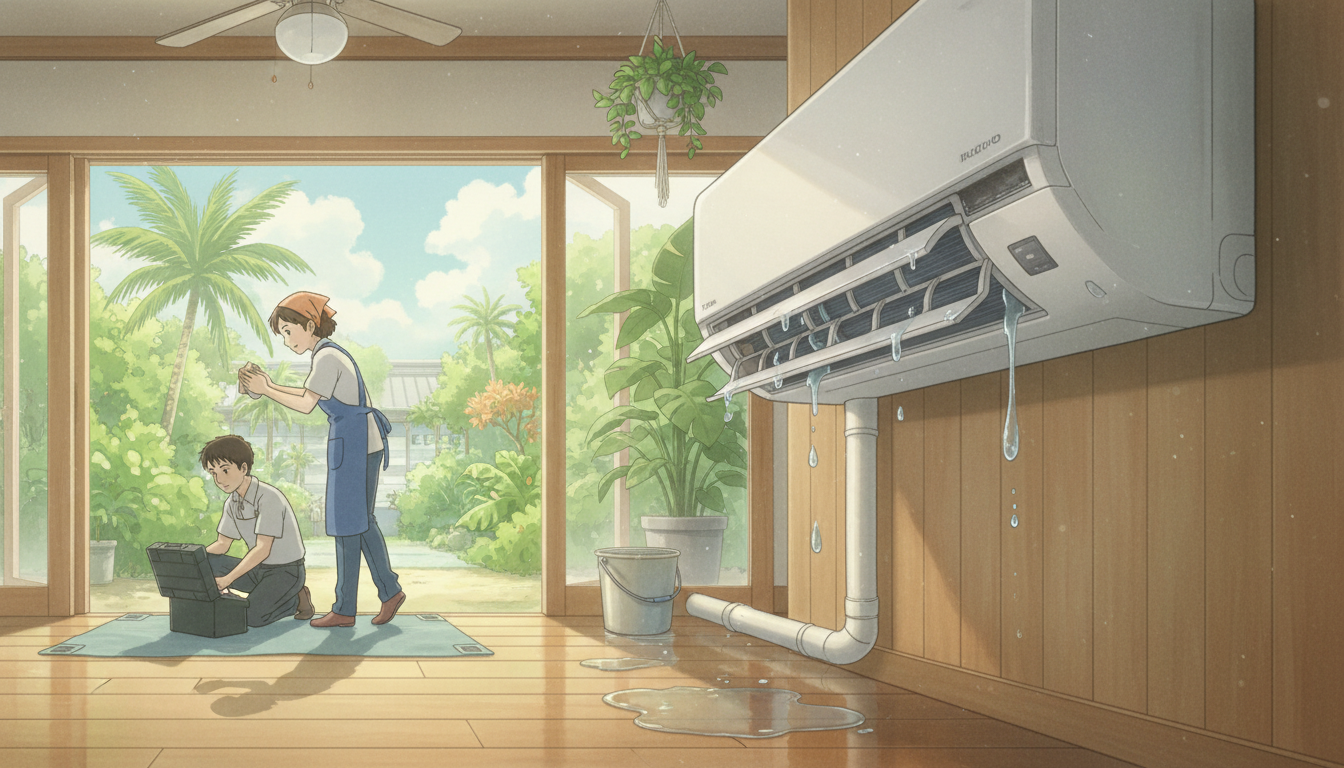
Problem 4: Mold and Moisture Issues
The Challenge: Renovation work, particularly plumbing installations or water damage repairs, can create ideal conditions for mold growth. Singapore's tropical climate with high humidity (typically 70-90%) accelerates mold development. Mold can appear within 24-48 hours in damp conditions and poses serious health risks, especially for respiratory health.
Solution - Prevention and Treatment: Address moisture issues immediately after renovation:
- Inspect Thoroughly: Check bathrooms, kitchens, and areas around new plumbing for signs of moisture, discoloration, or musty odors. Look behind cabinets and under sinks where moisture often accumulates.
- Ventilation: Ensure bathroom and kitchen exhaust fans are functioning properly. Run them for at least 30 minutes after showers or cooking to remove excess moisture. In Singapore's humid climate, this step is crucial.
- Address Leaks Immediately: Even small leaks can lead to mold growth. Have any water damage or leaks repaired by licensed plumbers before proceeding with cleaning.
- Mold Removal: For small mold patches (less than 1 square meter), use a solution of one part bleach to three parts water. Apply with a cloth, let sit for 10 minutes, and scrub gently. For larger areas or persistent mold, hire professional mold remediation services.
- Humidity Control: Use a dehumidifier in affected areas. Keep humidity levels below 60% to prevent mold recurrence. In Singapore's climate, this may require running air conditioning or dehumidifiers regularly.
Problem 5: Contaminated Air Quality and Formaldehyde
The Challenge: New materials used in renovation—including certain paints, adhesives, varnishes, and particleboard—release volatile organic compounds (VOCs) and formaldehyde into the air. These substances can cause headaches, respiratory irritation, and other health issues. Singapore's enclosed living spaces (particularly condos and HDB flats with limited ventilation) concentrate these chemicals more than homes with better air circulation.
Solution - Air Quality Management: Improve indoor air quality after renovation through multiple approaches:
- Ventilation: Keep windows and doors open for at least 48-72 hours after renovation completion, weather permitting. This allows VOCs and formaldehyde to dissipate naturally.
- Air Purifiers: Invest in a high-quality air purifier with activated carbon filters and HEPA filtration. These capture VOCs and fine particles effectively. Run continuously for the first week after renovation.
- Plants: Certain houseplants like spider plants, pothos, and snake plants naturally absorb some VOCs. While not a complete solution, they complement other air quality measures.
- Professional Assessment: For extensive renovations, consider hiring professionals to test formaldehyde levels. Some cleaning services offer formaldehyde testing and basic inhibitor treatments for built-in cabinets.
Problem 6: Hidden Dust in Hard-to-Reach Areas
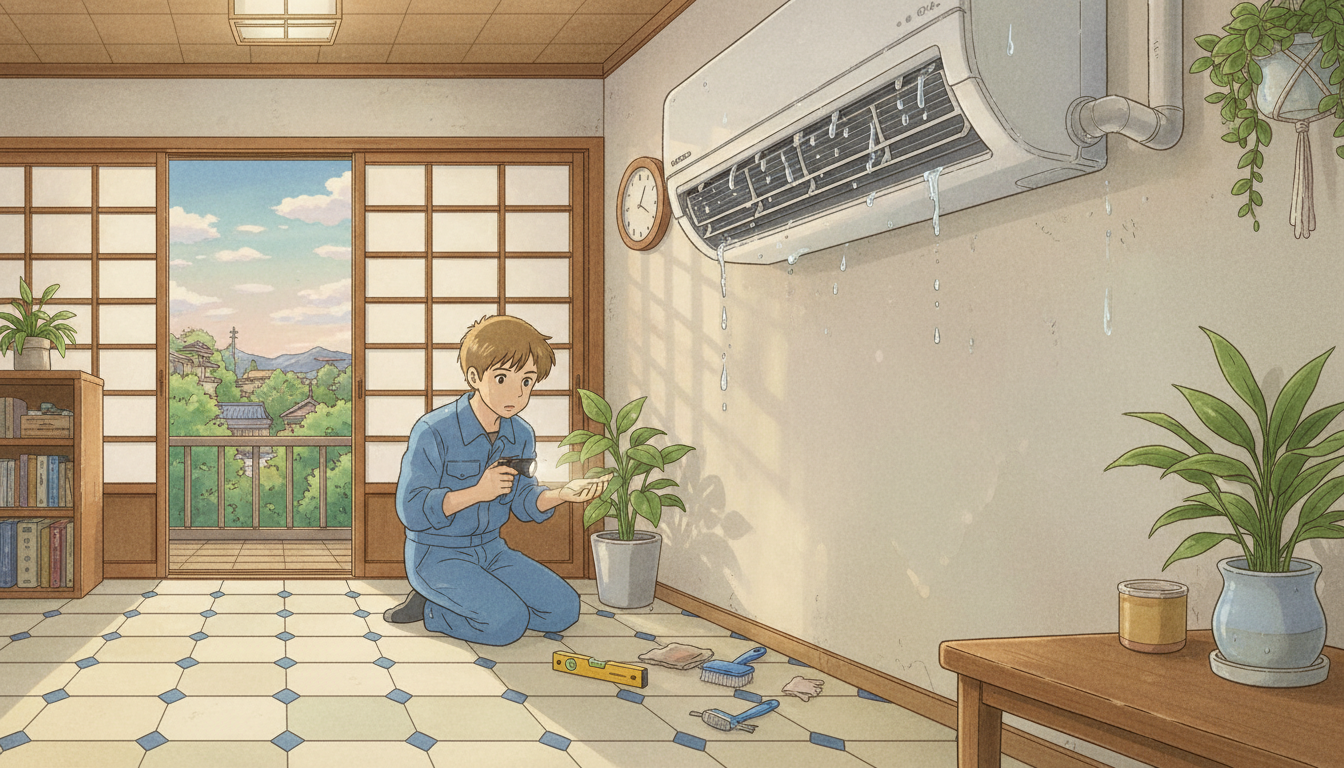
The Challenge: Construction dust settles in areas most homeowners overlook during cleaning—inside air conditioning vents, behind appliances, within cabinet interiors, and on top of door frames. These areas harbor dust that continues to circulate through your home long after visible cleaning is complete.
Solution - Comprehensive Checklist: Create a systematic cleaning checklist to ensure no area is missed:
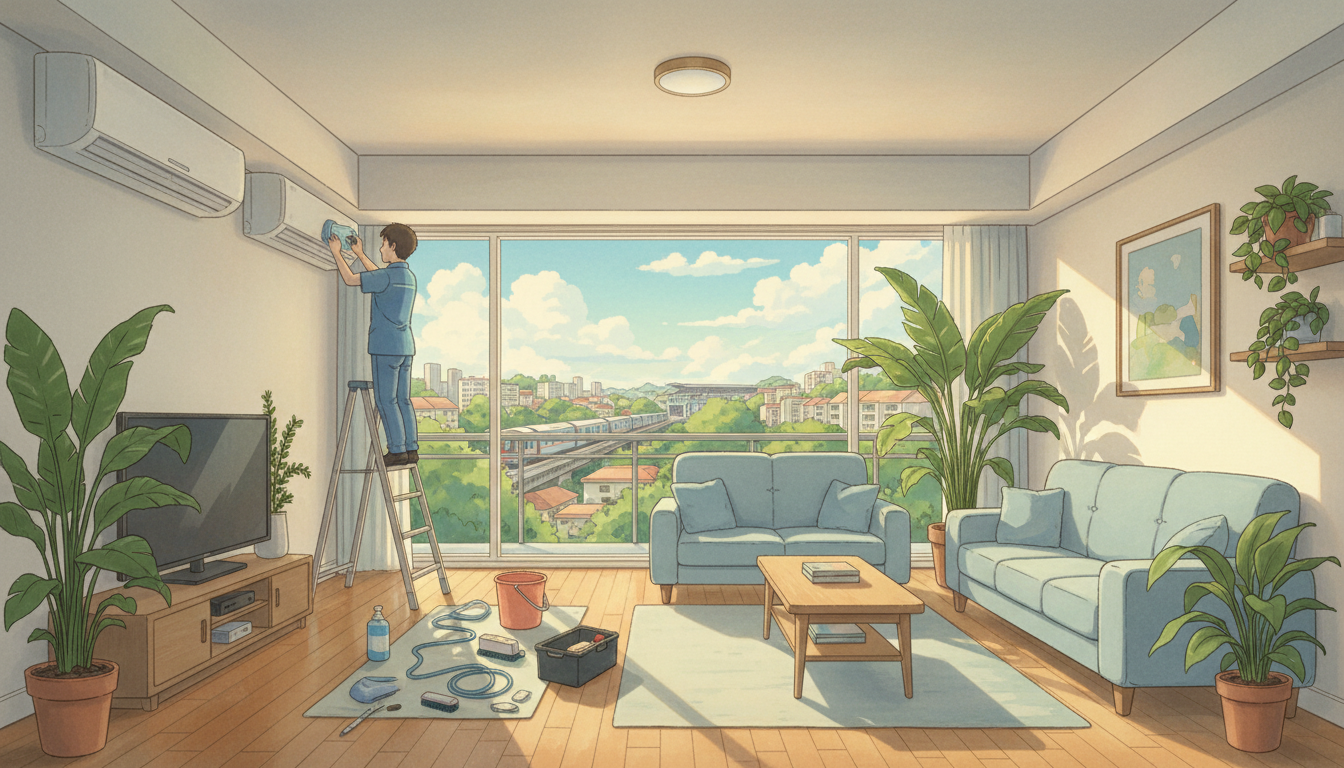
- Air conditioning vents and filters (replace filters after renovation)
- Inside all cabinets and drawers
- Behind and on top of refrigerators, ovens, and other appliances
- Light fixtures and ceiling fans (including inside the fixture housing)
- Window sills, tracks, and blinds
- Door frames and tops of doors
- Inside closets and storage areas
- Baseboards and corners where walls meet floors
- Exhaust fan grilles in bathrooms and kitchens
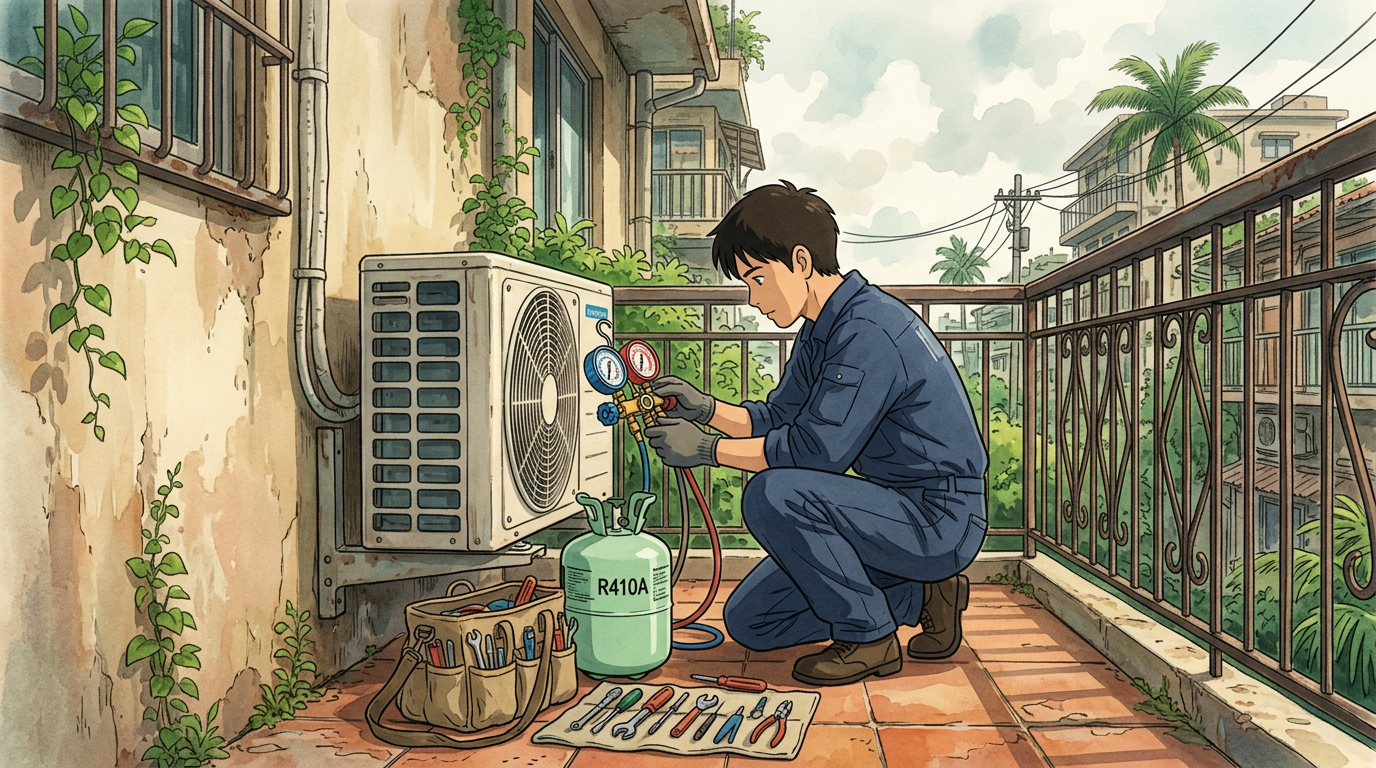
For air conditioning maintenance specifically, this is critical in Singapore where air conditioning runs year-round. Dust-clogged filters reduce efficiency and air quality. Consider scheduling professional aircon servicing through Aircon Services ">Homejourney's verified aircon service providers to ensure your system is thoroughly cleaned after renovation work.
When to Hire Professional Post-Renovation Cleaners
DIY vs. Professional: While you can handle some post-renovation cleaning yourself, professional cleaners are recommended in approximately 60% of cases. Consider hiring professionals if:
- Your renovation was extensive (whole-home or multi-room)
- You have health concerns (respiratory issues, allergies, immunocompromised family members)
- You're time-constrained and need rapid turnaround
- Your property has delicate surfaces requiring specialized care
- You want comprehensive air quality testing and treatment
Professional Cleaning Costs in Singapore: Post-renovation cleaning services typically range from $270 to $700 depending on property size and scope of work. A studio or 1-room flat may cost $270-350, while a 4-5 room HDB or larger condo could cost $500-700. Pricing factors include property size, extent of renovation, and additional services like formaldehyde treatment or air purification.
What Professional Cleaners Include: Reputable services provide:
- Complete dry cleaning with HEPA-filtered vacuums
- Wet cleaning of all surfaces with appropriate solutions
- Specialized treatment for cement and grout residue
- Air quality improvement and vent cleaning
- Disinfection with hospital-grade solutions
- Detailed inspection of hidden areas
Booking Through Homejourney: When selecting a post-renovation cleaning provider, trust matters. Homejourney's platform connects you with verified, insured cleaning professionals who have been reviewed by Singapore homeowners. You can compare pricing, read detailed reviews, and book services directly through the app. All providers on Homejourney are vetted for reliability and quality, giving you confidence in your choice. Book professional post-renovation cleaning through Homejourney today.
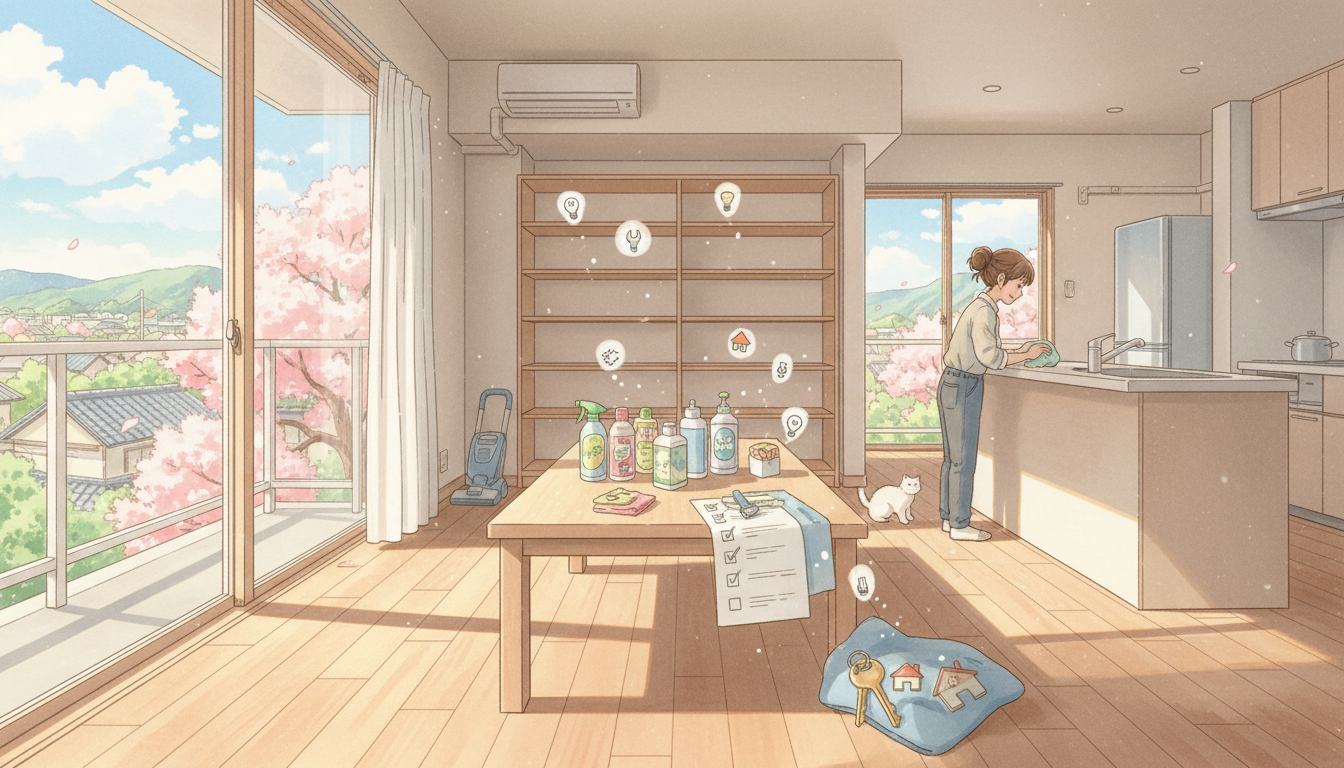
Recommended Cleaning Products and Tools
Having the right tools and products significantly improves cleaning efficiency and results:
- HEPA Filter Vacuum: Essential for capturing fine dust particles and improving air quality
- Microfiber Cloths and Mops: These avoid lint and prevent scratching delicate surfaces
- Extendable Dusting Poles: Reach high areas safely without ladders
- Wet/Dry Vacuum: Versatile for both debris and liquid spills
- Eco-Friendly Cleaners: Vinegar, baking soda, and pH-neutral tile cleaners are effective and safe
- Soft Brushes: For grout lines and delicate surfaces
- Plastic Scrapers: For paint removal without surface damage
Always test any cleaning solution on an inconspicuous area before applying to visible surfaces. This prevents accidental damage to new finishes.
Post-Renovation Cleaning Timeline
Timing your cleaning efforts properly ensures optimal results:
- Immediately After Renovation (Day 1): Remove large debris and conduct initial dry cleaning. Open windows for ventilation.